MCP
通过模型上下文协议(MCP),用户可将外部工具和服务无缝连接至 JoyCode IDE,实现更强大的智能体扩展能力。MCP为智能体提供了访问自定义工具和服务的标准接口,极大丰富了开发和协作场景。
什么是 MCP?#
Model Context Protocol (MCP) 是一种协议,它允许大型语言模型(LLMs)访问自定义的工具和服务。JoyCode中的智能体作为 MCP 客户端可以选择向 MCP Server 发起请求,以使用它们提供的工具。你可以自行添加 MCP Server,并添加到自定义的智能体中来使用。更多信息参阅 MCP 官方文档。
在JoyCode IDE中,MCP Server 支持三种服务端连结类型:stdio、SSE、Streamable HTTP。
stdio传输#
| 字段 | 是否必填 | 说明 | 示例 |
|---|---|---|---|
| command | 必填 | 启动服务器可执行文件的命令。必须在系统 PATH 中可用,或包含其完整路径。 | "node" "npx" "pip" "uv" "uvx" |
| type | 必填 | 服务器连接类型 | "stdio" |
| args | 可选 | 传递给命令的参数数组 | ["server.py", "--port", "3000"] |
| env | 可选 | 服务器的环境变量 | {"NODE_ENV": "production", "API_KEY": "123"} |
示例
{ "mcpServers": { "chrome-devtools": { "command": "npx", "args": [ "-y", "chrome-devtools-mcp@latest" ] } }}sse传输#
| 字段 | 是否必填 | 说明 | 示例 |
|---|---|---|---|
| url | 必填 | 服务端URL | "https://api.example.com/sse" |
| type | 必填 | 服务器连接类型 | "sse" |
| headers | 可选 | 自定义HTTP请求头(如认证信息、Content-Type等) | {"Authorization": "Bearer token123"} |
| args | 可选 | 传递给命令的参数数组 | [] |
| env | 可选 | 服务器的环境变量 | {"DEBUG": "true"} |
| command | 可选 | 生成动态URL/参数的脚本命令(与args配合使用) | "python generate_url.py" "/bin/bash fetch-token.sh" |
示例
{ "mcpServers": { "remote-server": { "url": "https://api.example.com/mcp/sse", "headers": { "Authorization": "Bearer token123" } } }}Streamable HTTP传输#
| 字段 | 是否必填 | 说明 | 示例 |
|---|---|---|---|
| url | 必填 | 服务端URL | "https://data.example.com/download" |
| type | 必填 | 服务器连接类型 | "streamableHttp" |
| headers | 可选 | 自定义HTTP请求头(如认证信息、Content-Type等) | {"Authorization": "Bearer token123"} |
| args | 可选 | 传递给命令的参数数组 | [] |
| env | 可选 | 服务器的环境变量 | {"DEBUG": "true"} |
| command | 可选 | 生成动态URL/参数的脚本命令(与args配合使用) | "python generate_url.py" "/bin/bash fetch-token.sh" |
| disabled | 可选 | 启用禁用 | true / false |
示例
{ "mcpServers": { "remote-server": { "url": "https://api.example.com/mcp/user", "headers": { "Authorization": "Bearer token123" } } }}在JoyCode中调用MCP Server的教程#
- 点击MCP市场,进入“全局配置文件”,点击“+MCP配置“
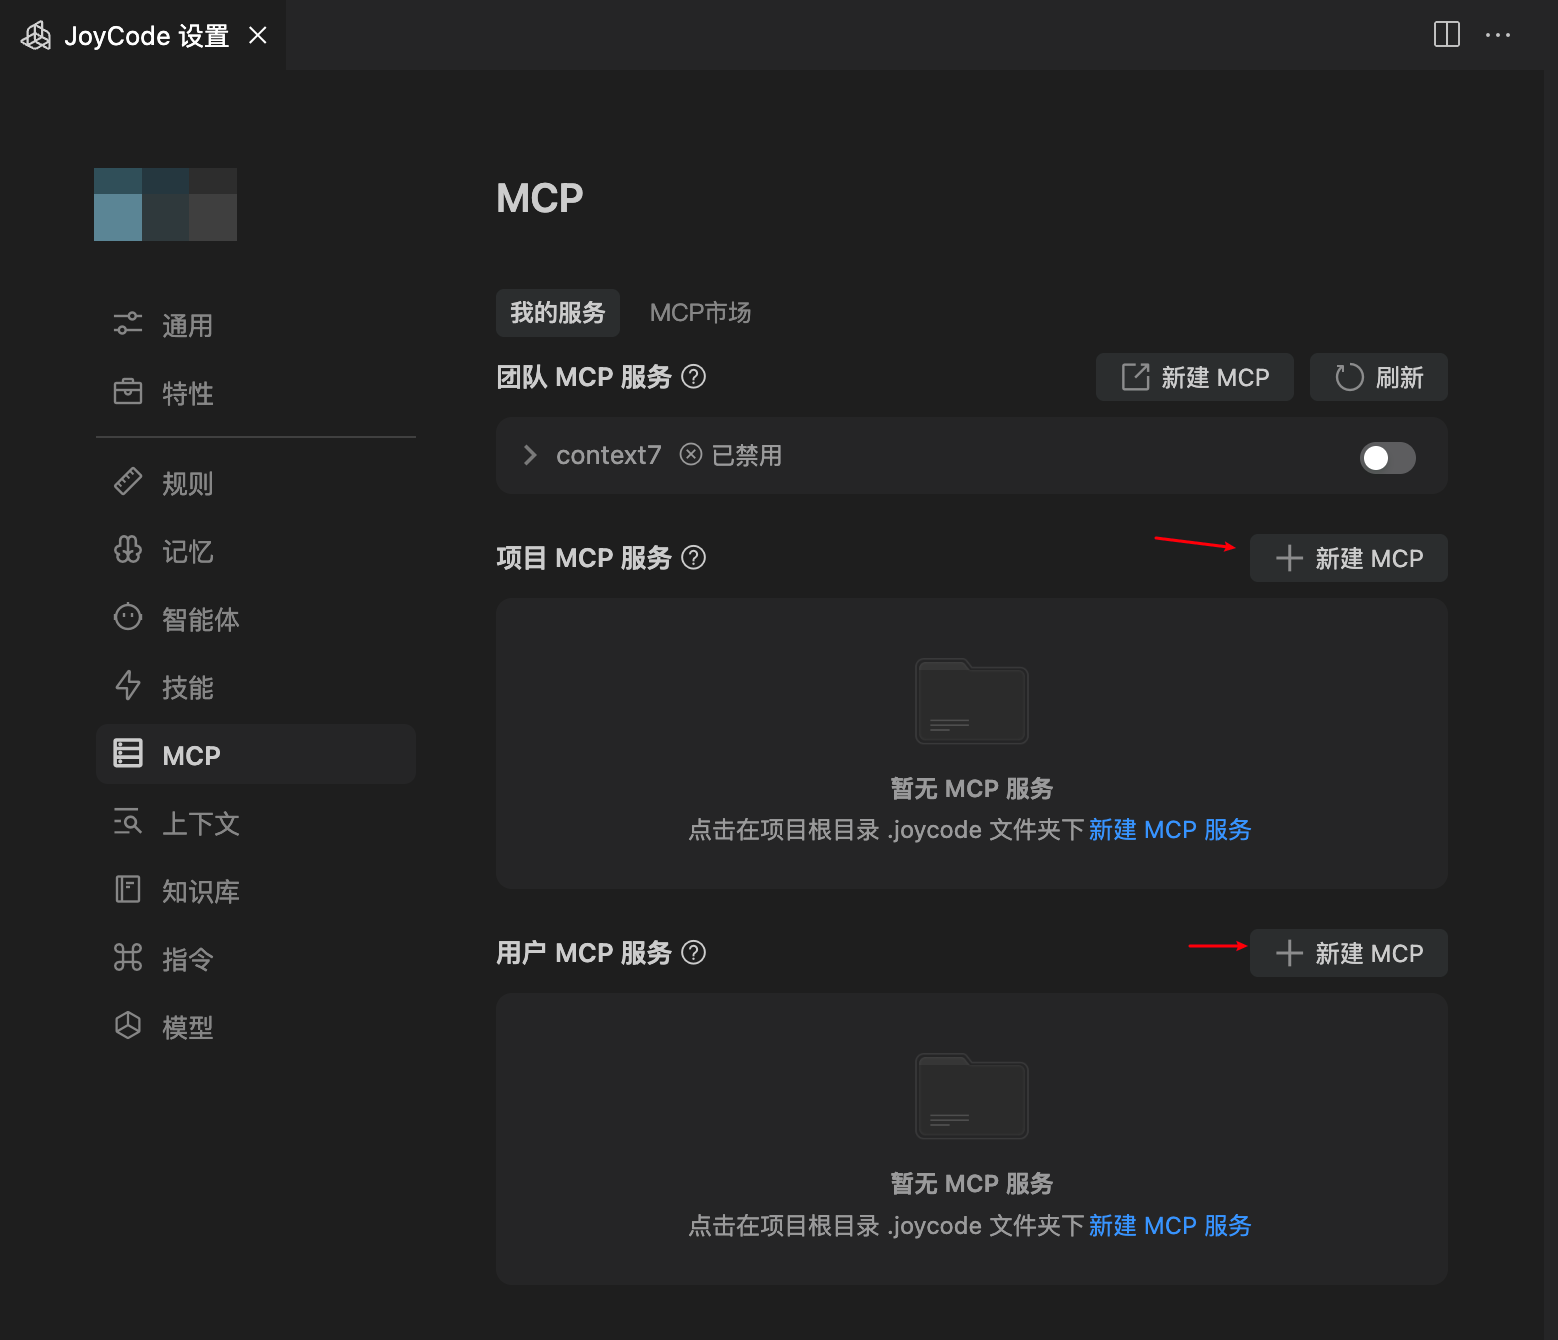
- MCP Server的JSON文件,完成后点击“确定”
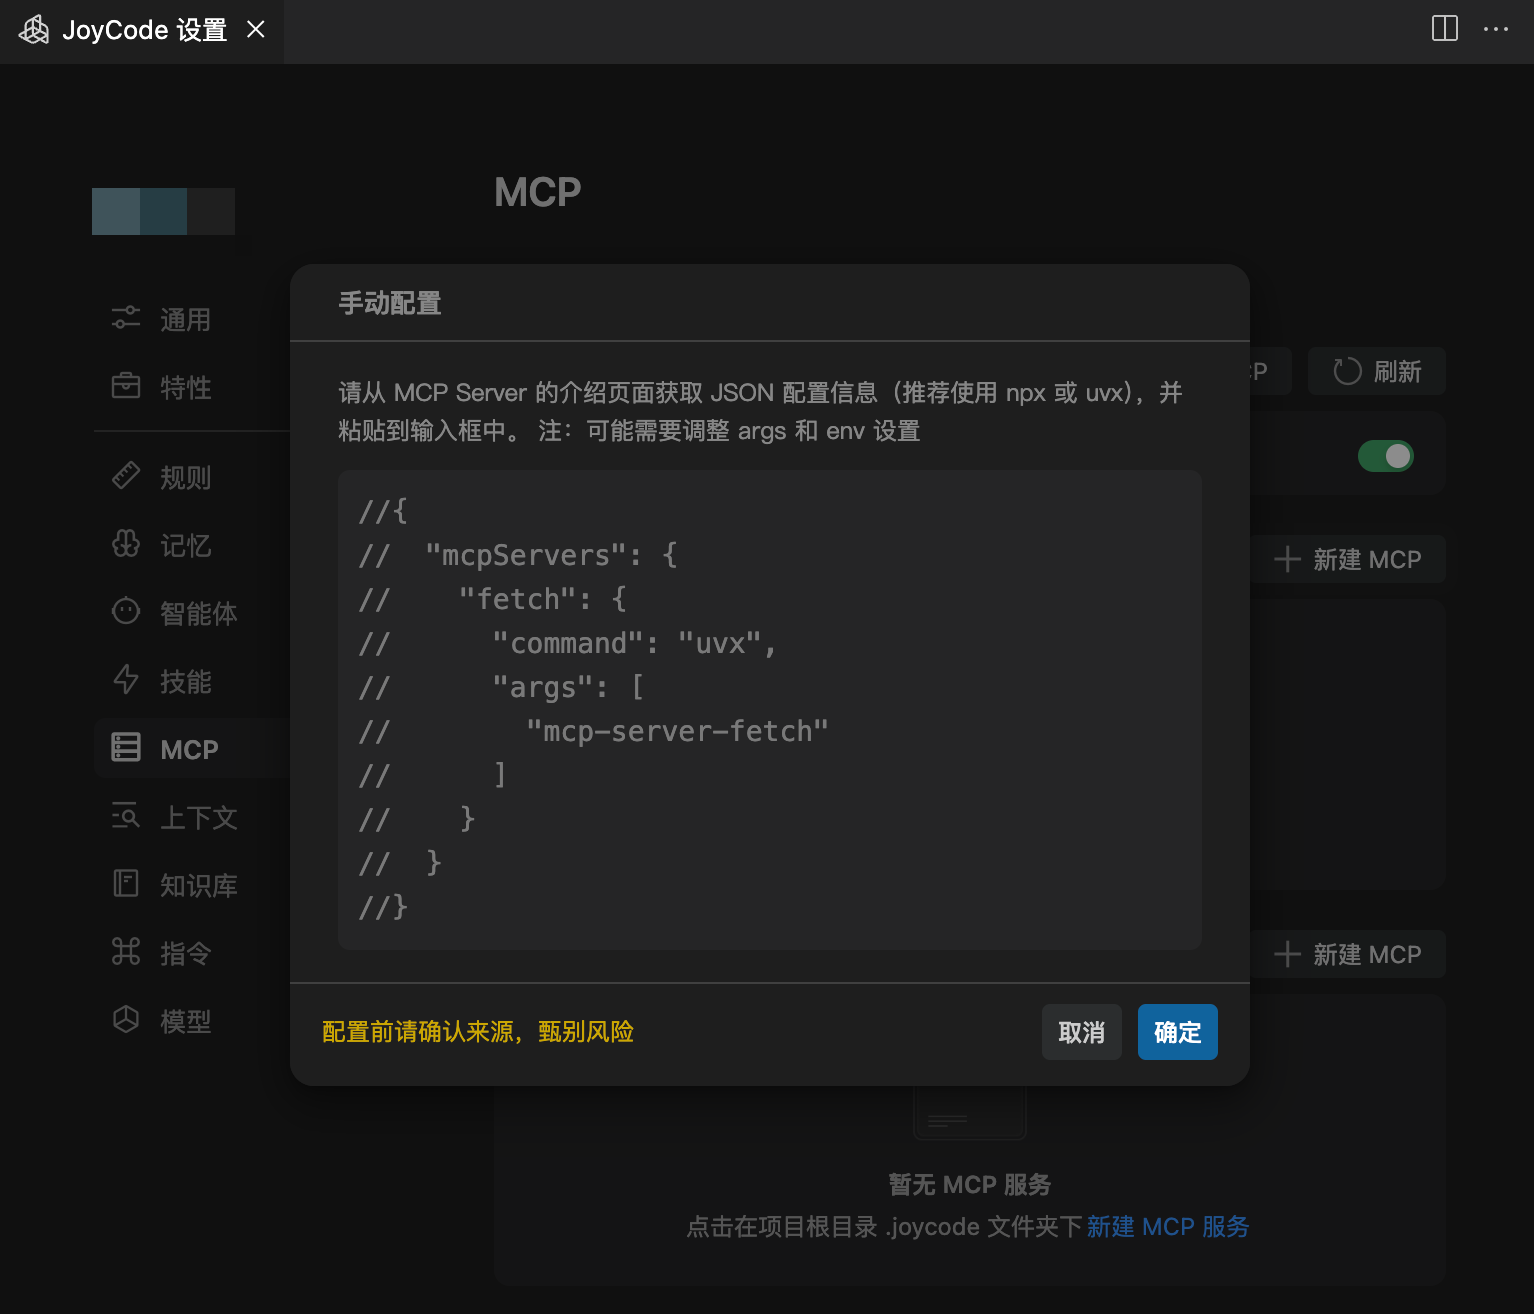
- JSON文件内容详情如下:
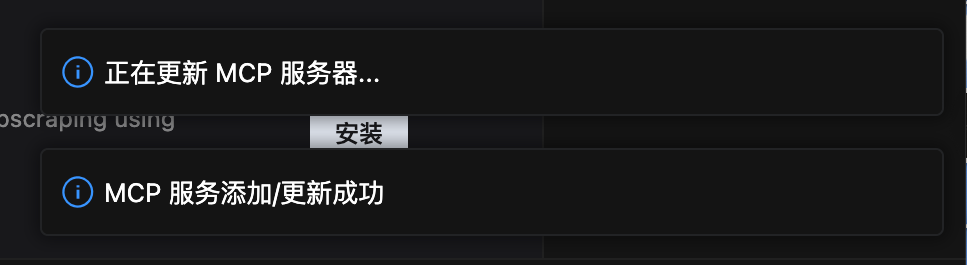
{ "mcpServers": { "clear": { "command": "npx", "args": [ "--registry=http://registry.m.jd.com", "@jd/clear-server" ] } }}- 安装成功,IDE右下角会显示添加成功,正在更新
将前端页面发布到测试环境案例#
为了简化步骤,下面以使用MCP Clear部署工具进行发布为案例进行讲解如何使用MCP服务:
配置方法#
MCP Server需要有环境依赖才可以在本机运行,因此需要在安装MCP Server前先安装您的MCP Server所需要的环境,常见环境python或node.js。
MacOS#
Python配置#
准备python环境(3.10+)下载地址:https://www.python.org/downloads/
方法1#
- 下载包:
pip install 包或pip3 install 包(若提示缺什么包,就用pip或pip3装什么包) - 配置文件:
{ "mcpServers": { "mcpName": { "command": "python", "args": [ "-m", "mcp_server_name" // 服务名 ] } }}方法2#
- 下载包:
pip install 包或pip3 install 包 - 获取python具体目录:
which python - 配置文件:
{ "mcpServers": { "mcpName": { "command": "{pythonPath}", // python具体目录 "args": [ "-m", "mcp_server_name" // 服务名 ] } }}方法3(使用uv虚拟环境)#
pip install uv或pip3 install uvuv venv {uvName}// 注:这里的uvName可替换为自己起的名字source {uvName}/bin/activate- 进入uv环境:
uv pip install 包或pip3 install 包 - 获取python路径:
which python - 配置文件:
{ "mcpServers": { "mcpName": { "command": "{pythonPath}", // python具体目录 "args": \[ "-m", "mcp\_server\_name" // 服务名 \] } }}方法4(脚本)#
curl"http://storage.jd.local/mcp-sh/mac\_python.sh"|bash -s <环境名><下载包命令>
示例:
curl"http://storage.jd.local/mcp-sh/mac\_python.sh"|bash -s "japi""japi==1.0.0 -i http://artifactory.jd.com/artifactory/api/pypi/libs-py/simple --trusted-host artifactory.jd.com"
Node配置#
准备node环境(18+)下载地址:https://nodejs.org/en/
方法1#
{ "mcpServers": { "mcpName": { "args": \[ "-y", "@executeautomation/mcp-server" // 包名 \], "command": "npx" } }}方法2#
如果按照方法1无法成功配置安装好对应的mcp server,则可参考方法2尝试安装。
- 下载您所需要的mcp server的安装包:
npm install -g {pkgName} - 获取node具体目录:
which node - 获取下载包具体目录:
npm root -g
{ "mcpServers": { "mcpName": { "args": \[ "/{node\_model}/dist/index.js" // 下载包中具体index.js目录 \], "command": "{nodePath}" // node具体路径 } }}方法3(脚本)#
curl"http://storage.jd.local/mcp-sh/mac\_node.sh"|bash -s <包名>
示例:
curl"http://storage.jd.local/mcp-sh/mac\_node.sh"|bash -s @jd/clear-server
Windows#
Python配置#
准备python环境(3.10+)下载地址:https://www.python.org/downloads/
方法1#
- 下载包:
pip install 包或pip3 install 包 - 配置文件:
{ "mcpServers": { "mcpName": { "command": "python", "args": \[ "-m", "mcp\_server\_name" // 服务名 \] } }}方法2#
- 下载包:
pip install 包或pip3 install 包 - 获取python具体目录:
where python
{ "mcpServers": { "mcpName": { "command": "{pythonPath}", // python具体目录 例 C:\\Python39\\python.exe "args": \[ "-m", "mcp\_server\_name" // 服务名 \] } }}Node配置#
准备node环境(>=18)下载地址:https://nodejs.org/en/参照http://npm.jd.com/,使用jnpm源
方法1#
{ "mcpServers": { "mcpName": { "args": \[ "-y", "@executeautomation/mcp-server" // 包名 \], "command": "npx" } }}方法2#
- 安装nodejs.msi
npm config set prefix "D:\nodejs\npm-global"npm install -g {packageName}- 配置文件:
{ "mcpServers": { "mcpName": { "args": \[ "/{node\_model}/dist/index.js" // 下载包中具体index.js目录 \], "command": "node.exe"gh } }}